Installing Chimera-md
Update Dec 9, 2024: I’ve been hacking on the server a lot lately! I also have a public facing instance of Chimera-md, and you’re on it right now! I had a goal of making a site where I could demo the server, but I had no idea it would soon take over my old gallery site. But I think the conversion has been a real success. It’s faster than before, under source control, and can easily be duplicated to make an identical staging environment.
All those updates, adding capabilities, fixing problems, have come at a cost, though. I’ve made a number of breaking changes to the original design, and that has invalidated this original installation guide. This guide is now current as of version 0.4.5
Welcome to Chimera-md
Recently I published the source code for my project, Chimera-md. I think it’s now ready to unveil to more folks. A key challenge there was making it easier to install. Now there’s a Docker image for running on 64-bit Linux servers. (Potentially other platforms would be valuable? But I think this is the current expectation.)
A few months ago I didn’t know how to install a project like this on my NAS. If you have similar NAS hardware, maybe these instructions will be a help.
Installing on Synology NAS
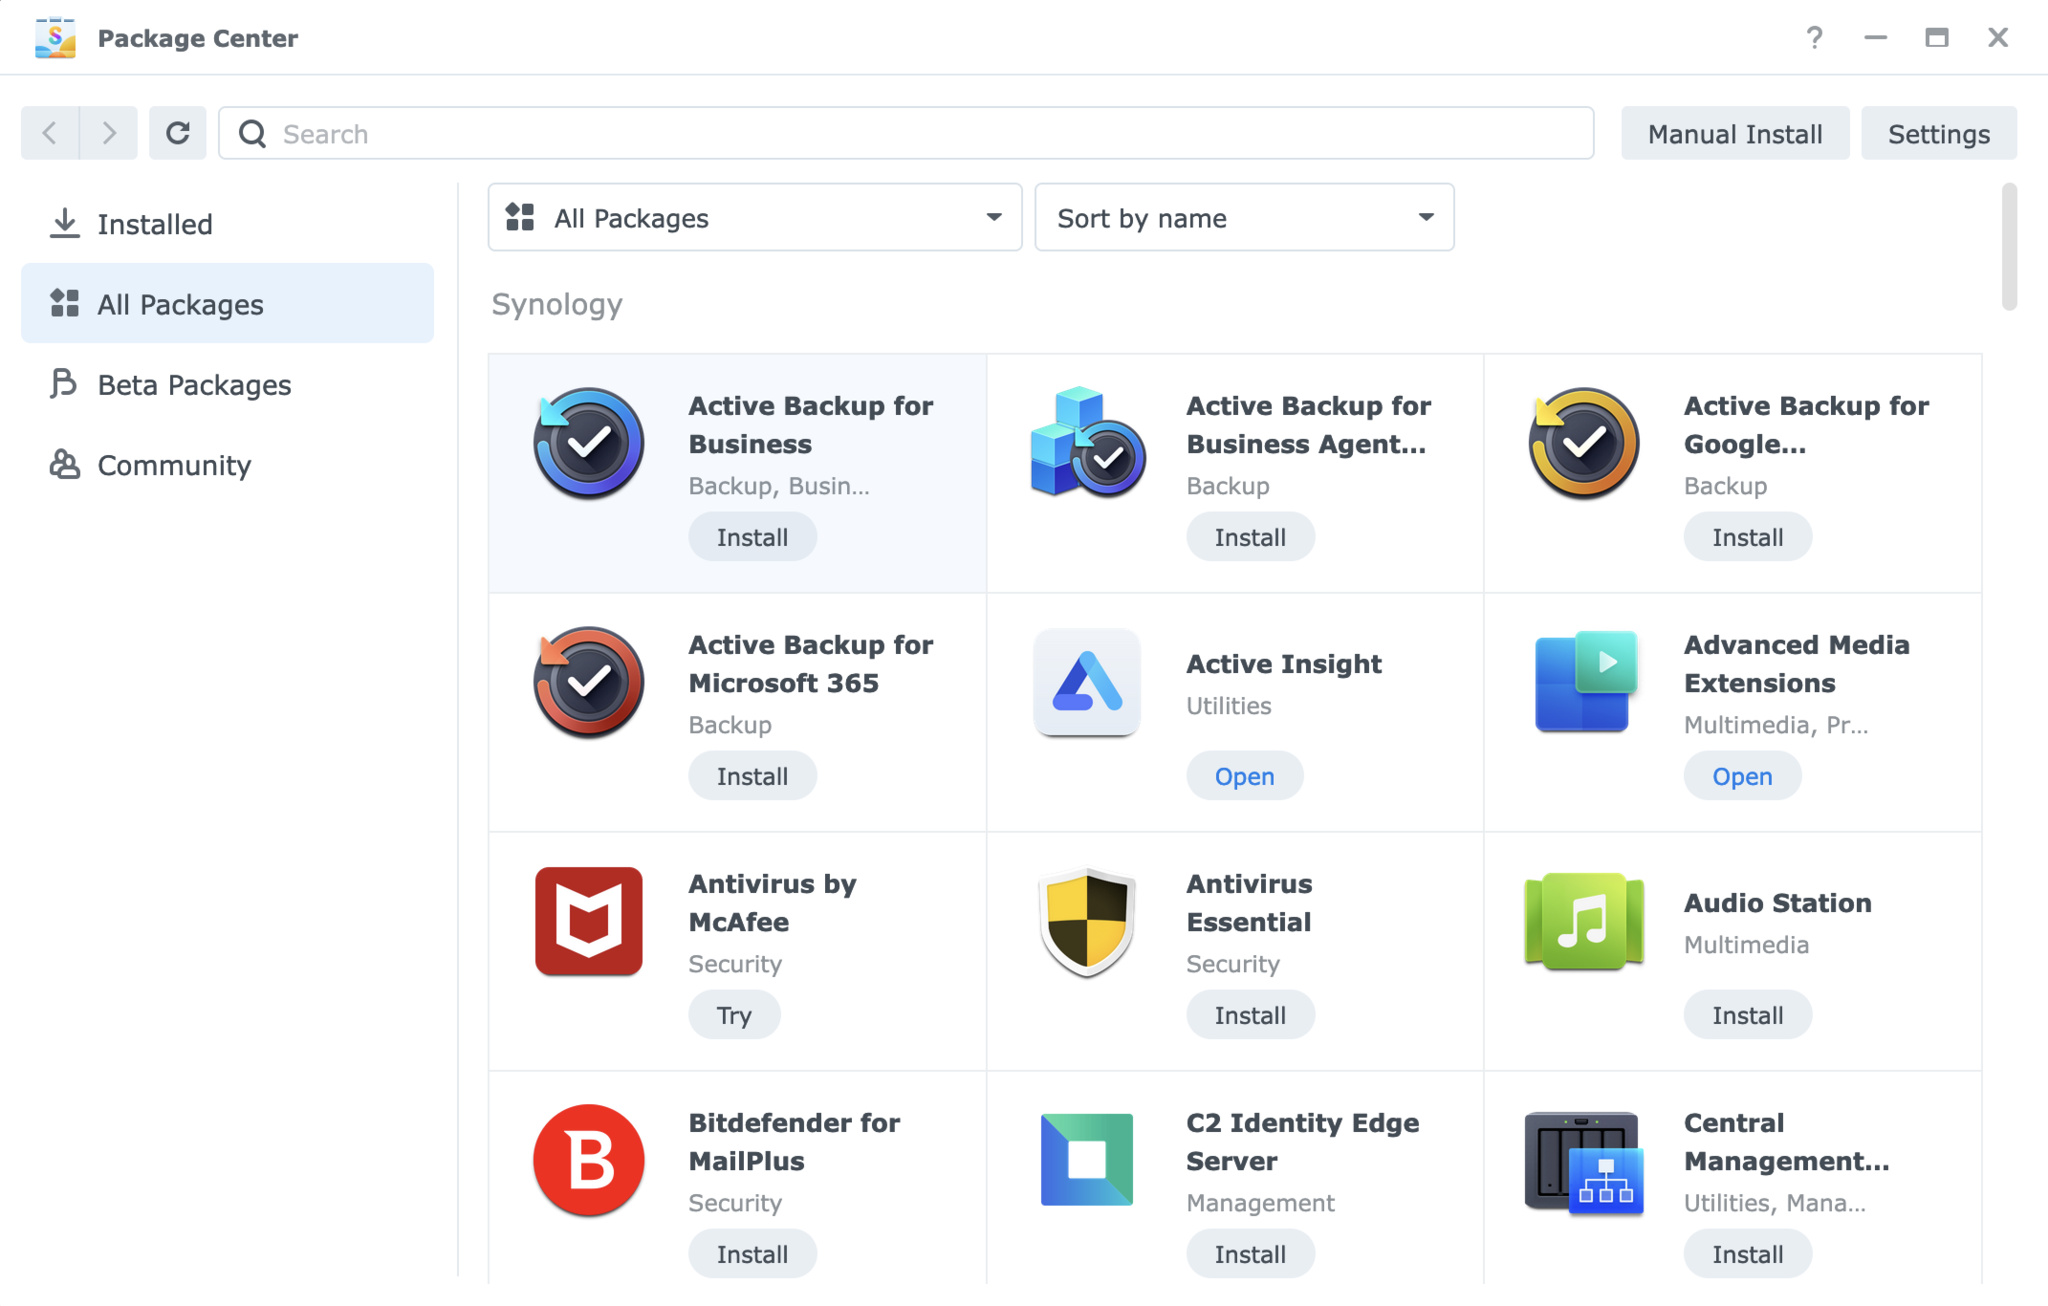
In the Synology DSM, if you haven’t already, you’ll need to install Container Manager from the Package Center. Container Manager is Synology’s graphical front-end for Docker. It makes it fairly easy to install and manage Docker images and containers. I say “fairly” because it’s Linux, and nothing in Linux is ever actually easy.
It took me a long time to wrap my head around how Docker works. It presents a bunch of different views, and some of them definitely overlap in functionality. Here’s what you need to know. In Docker, an Image is like an installer; it contains everything you need to run whatever is in there, but it needs to be applied to your system first. A Container is the concrete “installed” version. It doesn’t expand the files like an installation in Windows would, though. It’s just a configuration wrapper around the image with the needed local resources.
Often said resources will be one or more ports, if it’s a server application, and usually some number of local paths. Chimera-md, for example, is a web server. It listens on an HTTP port (8080), and serves files from some “document root” — a folder you designate as the top of the folder hierarchy. The Image doesn’t know what these should be for your system. But the magic of Docker is that it doesn’t need to know. You tell it how to do that stuff in the Container’s configuration, and Docker maps those things in.
A description of what these resources are for a given project will be described in a Docker compose file, usually called compose.yaml. I’ve had a lot of success when going to install something just by searching for “
Let’s look at one as an example. This is the current (as of this post) version of the Chimera-md docker compose file. And here is a link to the actual current one.
version: '3.8'
services:
  chimera-md:
    container_name: chimera-md
    image: acbarrentine/chimera-md:latest
    ports:
      - "8080:8080"

    volumes:
      # Your chimera.toml config file
      - /volume1/docker/dismal-ink/chimera.toml:/data/chimera.toml:ro

      # Markdown document root, media files, etc -- Point this to your main documents folder
      # Serves from /home
      - /volume1/docker/dismal-ink/home:/data/home:ro

      # Logging directory
      - /volume1/docker/dismal-ink/log:/data/log

      # Temporaries directory needed by the full text search
      - /volume1/docker/dismal-ink/search:/data/search

      # Anything after point this is optional

      # Web root, for non-markdown files, such as favicon.ico, robots.txt, or site CSS files
      # Serves from /
      # - /volume1/docker/dismal-ink/www:/data/www

      # You can customize by overriding the built-in Tera HTML templates
      # See customization in readme.md
      # - /volume1/docker/dismal-ink/templates:/data/template

      # You can map additional media files into your /home folder if they live somewhere else
      # - /volume1/docker/dismal-ink/home/media:/data/home/media

    restart: unless-stopped
I’ve put more comments in this thing to help navigate it than you might typically see, but if you’re not familiar with these compose files, parts of it still bear description.
A given Docker image may comprise any number of “services”. A complicated project like Immich has several images — processes that get spun up and cooperate to provide the program functionality. Chimera-md is comparatively simple, just having one called “chimera-md”. By convention, all Docker images have lower-case names.
The indented block beneath the service is configuration for that service. First up is the image name. This tells Docker where to find the image and what version to download. Docker is a company, and they run an indexing service that can discover these things. Chimera-md is listed on Docker Hub. There’s a bunch of other package registries out there, but the public ones all feed into Docker Hub.
image: acbarrentine/chimera-md:latest
The name of my image is acbarrentine/chimera-md. Image releases get tagged with a version number and by convention one is also tagged as “latest”. “Latest” may not actually mean the latest, and often doesn’t. So often you’ll see people say you should control for that by using one of the more concrete tags. The repository page lists all the available options. 0.4.5 is the latest as of this post, so perhaps you might change the image line to refer to it.
image: acbarrentine/chimera-md:0.4.5
Next up are ports — the indented dash thing says it’s an array. In this case, an array of length one. A service can have multiple ports, though, so this is how you do it.
    ports:
      - "8080:8080"
Chimera-md is a web server, which traditionally listens on both 80 (http) and 443 (https), but for my own reasons, I have chosen not to support https and to use port 8080. (It’s so I don’t have to use sudo while developing the program.) What port it wants to listen on, though, is irrelevant to you because you have Docker, and you can tell it to use any port you want. That’s why there are two numbers in the mapping. The left side of the colon is your port, the right side is what the image is going to use. You can change the left, don’t change the right. So if you wanted to use the default web port of 80, you’d say:
    ports:
      - "80:8080"
Personally, I use port 19840, but that’s because I use a combination of a reverse proxy and DNS server to hide that abstraction, and it just needs to be something that isn’t used by other services. For this public site, I have another instance of the server on port 19850, exposed it to the world through a Cloudflare tunnel.
Now we come to the meat of things. Volume mappings are the heart of many a Docker container. When I was first reading about these things, I spent a lot of time confused. I am going to lay things out as plainly as I can, but there’s a decent chance you’ll be confused too. I’m here to let you know: don’t worry about that. It’s very easy to clean up behind a container and try it again if you did it wrong. It’s part of the magic of Docker. I might even recommend screwing up a few times just to get a feel for the relationship between images and containers.
But we’ll get back to that. Right now we’re talking about volumes. Volumes are how Docker lets you manage a container’s access to the file system. An image has an internal idea of a file system, places where it thinks files are at. In almost all cases, it is wrong. When a service is running in Docker, Docker itself is intercepting file-related system calls and redirecting things. A “file” might be located in the image itself (the executable sure is!), and Docker still needs to be able to serve that to it as if it were a regular file handle.
In addition to that, the container wraps the image with paths you provide it via volume mappings and serves those up in the exact same way as the internal image paths. You can even map files on top of the internal things, if you want. It lets you point at your real files with paths the image will understand. My web server wouldn’t be very useful to you if it could only serve files I built into the image!
On the right side of the colons are file paths the way the image expects them; on the left are your paths. Let’s get concrete and look at some.
    volumes:
      # Your chimera.toml config file
      - /volume1/docker/dismal-ink/chimera.toml:/data/chimera.toml:ro
#starts a comment. That’s me trying to describe how to use things in the Docker file.-starts an actual mapping, /usr/data/user1/documents to /data/www.:rois Docker compose parlance meaning “read-only”; the container will not be able to write to this path. So what does it all mean?
The part on the right, /data/chimera.toml, is fixed in the program. That is the location of the configuration file. I used to have all the configuration in the Docker compose.yaml, but certain features got too complex for environment variables. We’ll get into the details of the configuration file below. While there is a chimera.toml built into the image, it wouldn’t do you much good. Your configuration will certainly be different. Docker volume mapping is how you map your config file over that built-in stub. That’s what the left side of the line represents.
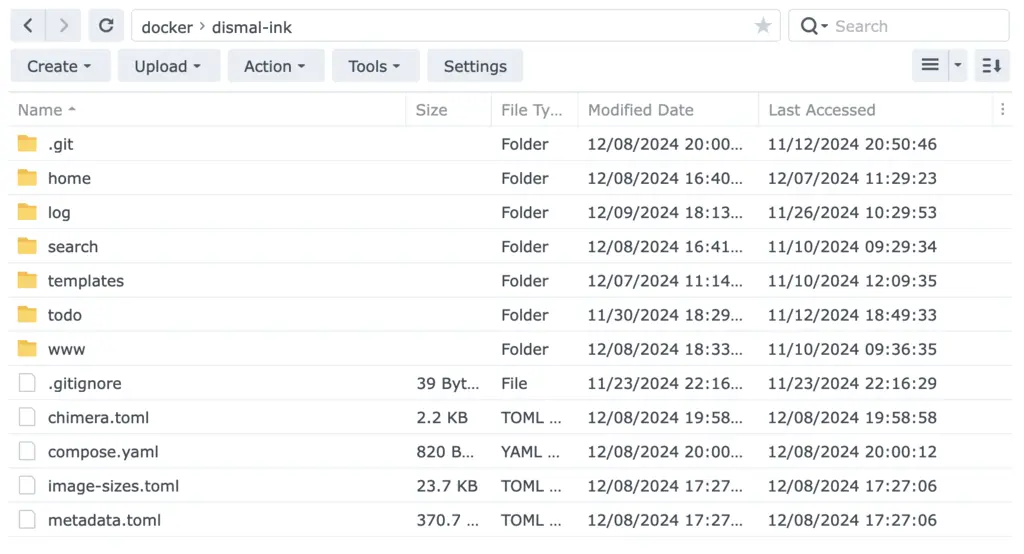
/volume1/docker/dismal-ink/chimera.toml is the path to this website’s configuration file on my NAS. “volume1” is the first storage pool (I only have one), and by convention, Docker stores data about each project in a shared folder called “docker”. Project names (“dismal-ink”) must be all lower case and may not have spaces. As you can see from the folder, it’s one of many files I have in there.
Your configuration file doesn’t need to live in that folder. It can live anywhere you can path to. Because the NAS can be configured to talk to another NAS, it could even be on a different machine (although I wouldn’t recommend that)! This place is convenient for me. Note that it’s next to compose.yaml, the file we’re dissecting right now.
Tangent: YAML is short for “Yet another markup language” and TOML is short for “Tom’s Obvious Minimal Language”. It’s two different ways of doing the same thing — representing structured data in readable text form. The Rust community has generally favored toml, but there’s little real difference. Json is another version of the same thing, but with less focus on readability.
      # Markdown document root, media files, etc -- Point this to your main documents folder
      # Serves from /home
      - /volume1/docker/dismal-ink/home:/data/home
The next mapping is for the documents folder, the very heart of Chimera-md. In the case of this website, my documents folder also lives in that same folder as the config files, but as before it can live anywhere. Where are your documents? I have an internal instance with documents that live in my user folder: /volume1/homes/acbarrentine/Documents. If I wanted to share those with you, I would write it this way:
- /volume1/homes/acbarrentine/Documents:/data/home
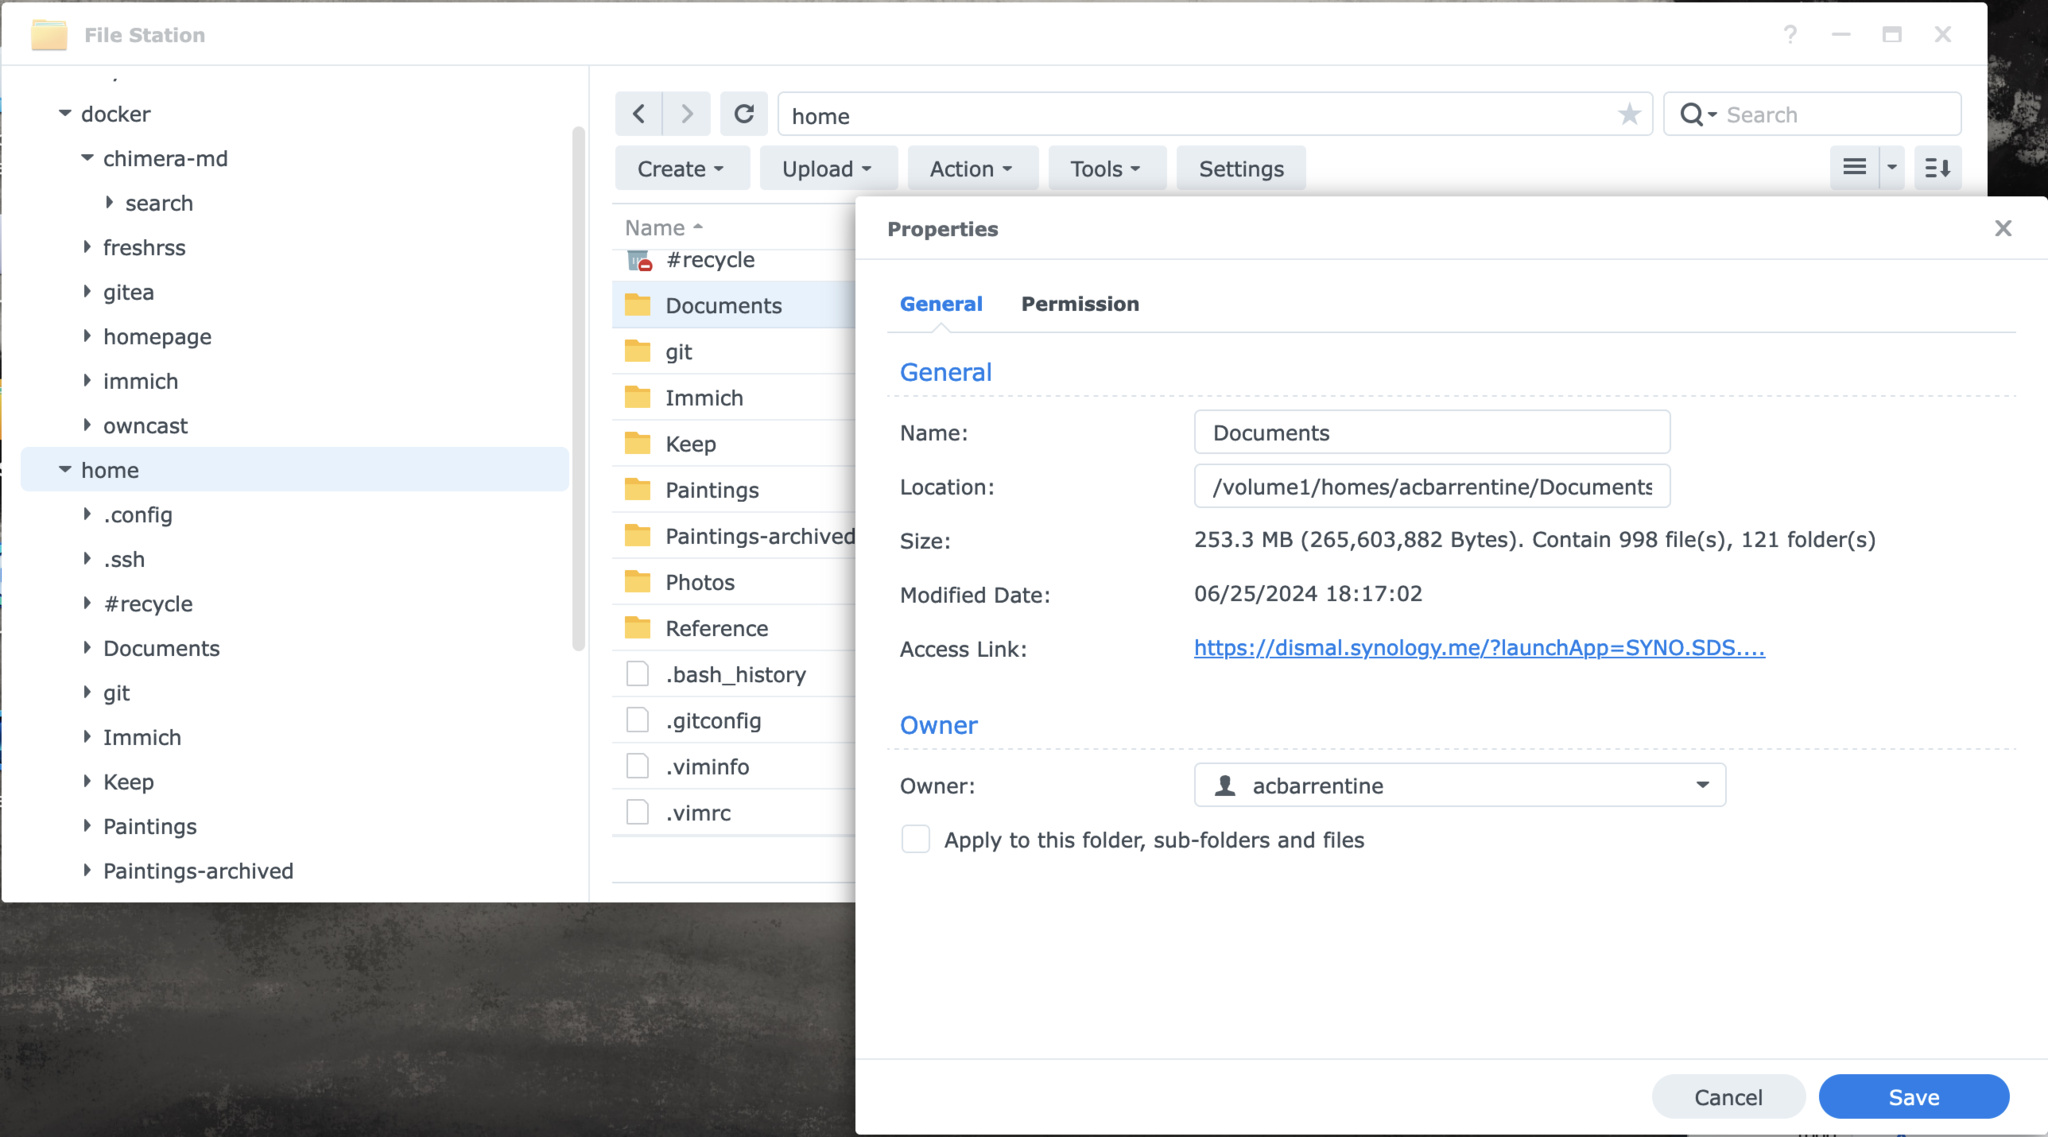
As before, the left side points to a real resource, in this case a folder, and the right to where the program expects it to be. /data/home is where Chimera-md looks for your documents to be. If you are ever unsure about the paths to your files, you can see them on the properties page in DSM’s file station.
We’ve been talking about two layers of mapping, so far, but there’s actually three in play. There’s a real path on your file system. There’s a volume mapping that gives it a different path in the Docker container. And then there’s the path it is known by on the web server. Documents in this folder serve from http://your-ip-address:your-port/home/path/to/file.md. This can get a little tricky trying to follow. Don’t worry if it doesn’t all make sense at first!
We have mapped local resources into the Docker image. We made a container! Well, we’re getting there. There are more mappings to provide. And we need to actually make that config file. But we’re getting there! Let’s look at the next couple.
      # Logging directory
      - /volume1/docker/dismal-ink/log:/data/log

      # Temporaries directory needed by the full text search
      - /volume1/docker/dismal-ink/search:/data/search
These mappings don’t have the :ro tag on them. They are places where the container will write persistent data such as log files and cached full text search data. We need to give this stuff a place to live, but it doesn’t need to be your Documents folder. It should be someplace nice and forgettable. The traditional thing to do is to give Docker containers their own little folder to do with as they please. Why can’t temp files get written into the image itself? Because it is set in stone when you downloaded it. And a container can’t contain files itself; it can only map yours into the image. You’ll notice I’ve mapped these into that same Docker shared folder.
There are optional additions, but that’s enough to get things going. For this actual site, I have several more files and folders mapped in:
      # www is the traditional root folder for a website. Files stored here are served
      # without additional URL adornment. This is where I put things like robots.txt
      - /volume1/docker/dismal-ink/www:/data/www

      # I have overridden a handful of the base Chimera-md templates, for instance to
      # make the nice card-style presentation on the index pages
      - /volume1/docker/dismal-ink/templates:/data/template

      # Not all of my media is in that Docker folder. My paintings live elsewhere, and
      # I am mapping them into the container
      - /volume1/homes/acbarrentine/Paintings:/data/home/media/Paintings:ro
An important thing just happened there. I kind of jumped forward a little and threw in an extra concept. Did you see it? The Paintings mapping is inside another folder’s mapping. On the file system, it lives far outside the Docker folder, but to the container, it lives inside the /data/home document root. Docker can invent a hierarchical tree of files and folders. That is why my documents mapping isn’t read-only (:ro), by the way. Docker needs write access to do this kind of subfolder volume mapping.
Did that make sense? That right there is the big concept with Docker volumes. If you’ve got that, the rest of this is going to be a cake walk. Don’t worry if it didn’t take, though. Just tag it in your brain to come back to later. Like I said, you can scrap the container and try it again later. But I’ll say this here because it confused me for a long time. That folder is not the container. It only has files that support the container. You do not need to delete the folder to delete the container.
There’s another important concept that’s unfortunately going to be a little hard to contend with. It’s that volume mappings are largely optional. Mapping something to the web root for a web server is important! But strictly speaking, it is optional. The program will work without that. There’s even a stub file at /data/home/index.md in the image. It’s one of those “Congratulations! You installed it correctly!” messages that’s so irritating to read. But it will work without a mapping. I say all this because the next line in the file is totally optional.
That’s all the volume mappings. If you made it this far, take a drink. You’re doing great!
Configuration file - chimera.toml
The original versions of Chimera-md were configured with environment variables. Certain features added since then have been too complex for them, though, so I had to move to a separate configuration file. You can write this in your favorite text editor.
# When used in Docker, these are probably the only fields you will want to change
site_title = "Dismal.ink"
site_lang = "en"
generate_index = true

[redirects]
# You can list as many redirects here as you'd like
# "original URL" = "new URI"
#
# URIs should be absolute, except the left one should not have a preceding /
#
# Example:
# "original-uri/" = "/home/path/to/new/uri.md"

[menu]
# Items to appear in the navigation menu drop-down
# "label" = "URL"
"Home" = "/home/index.md"
With that, we’re ready to make a container. Let’s turn our attention back to Container Manager in DSM. You’ve got a bunch of tabs to choose from. By now, you’ll recognize the names Image and Container. An Image is the kernel you’ll wrap a Container around.
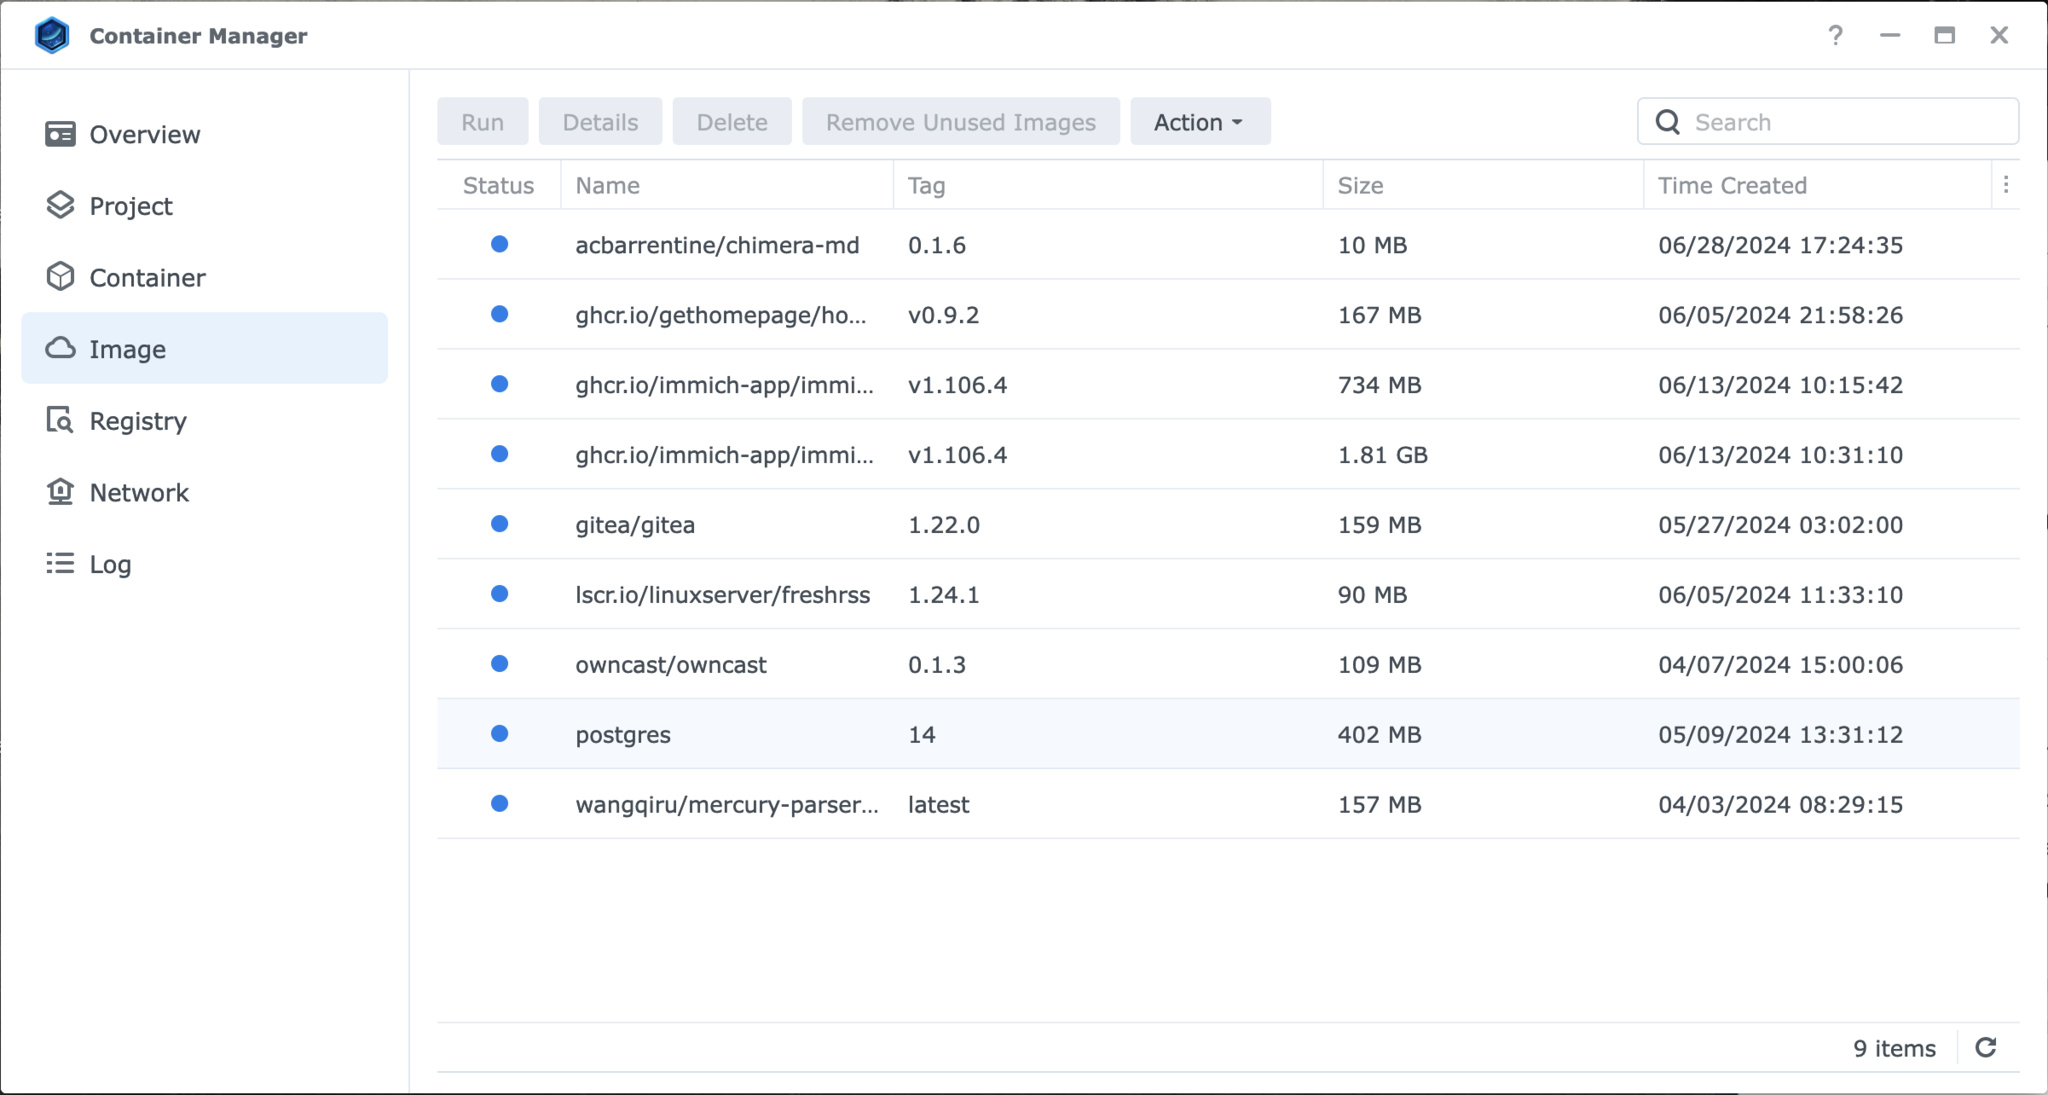
I have 9 images. Do you recognize the tag on acbarrentine/chimera-md? 0.1.6, that’s the version specified in my compose.yaml. These images got downloaded automatically by Docker when it processed my compose.yaml files. Each image directive in them instructs it to download one of these.
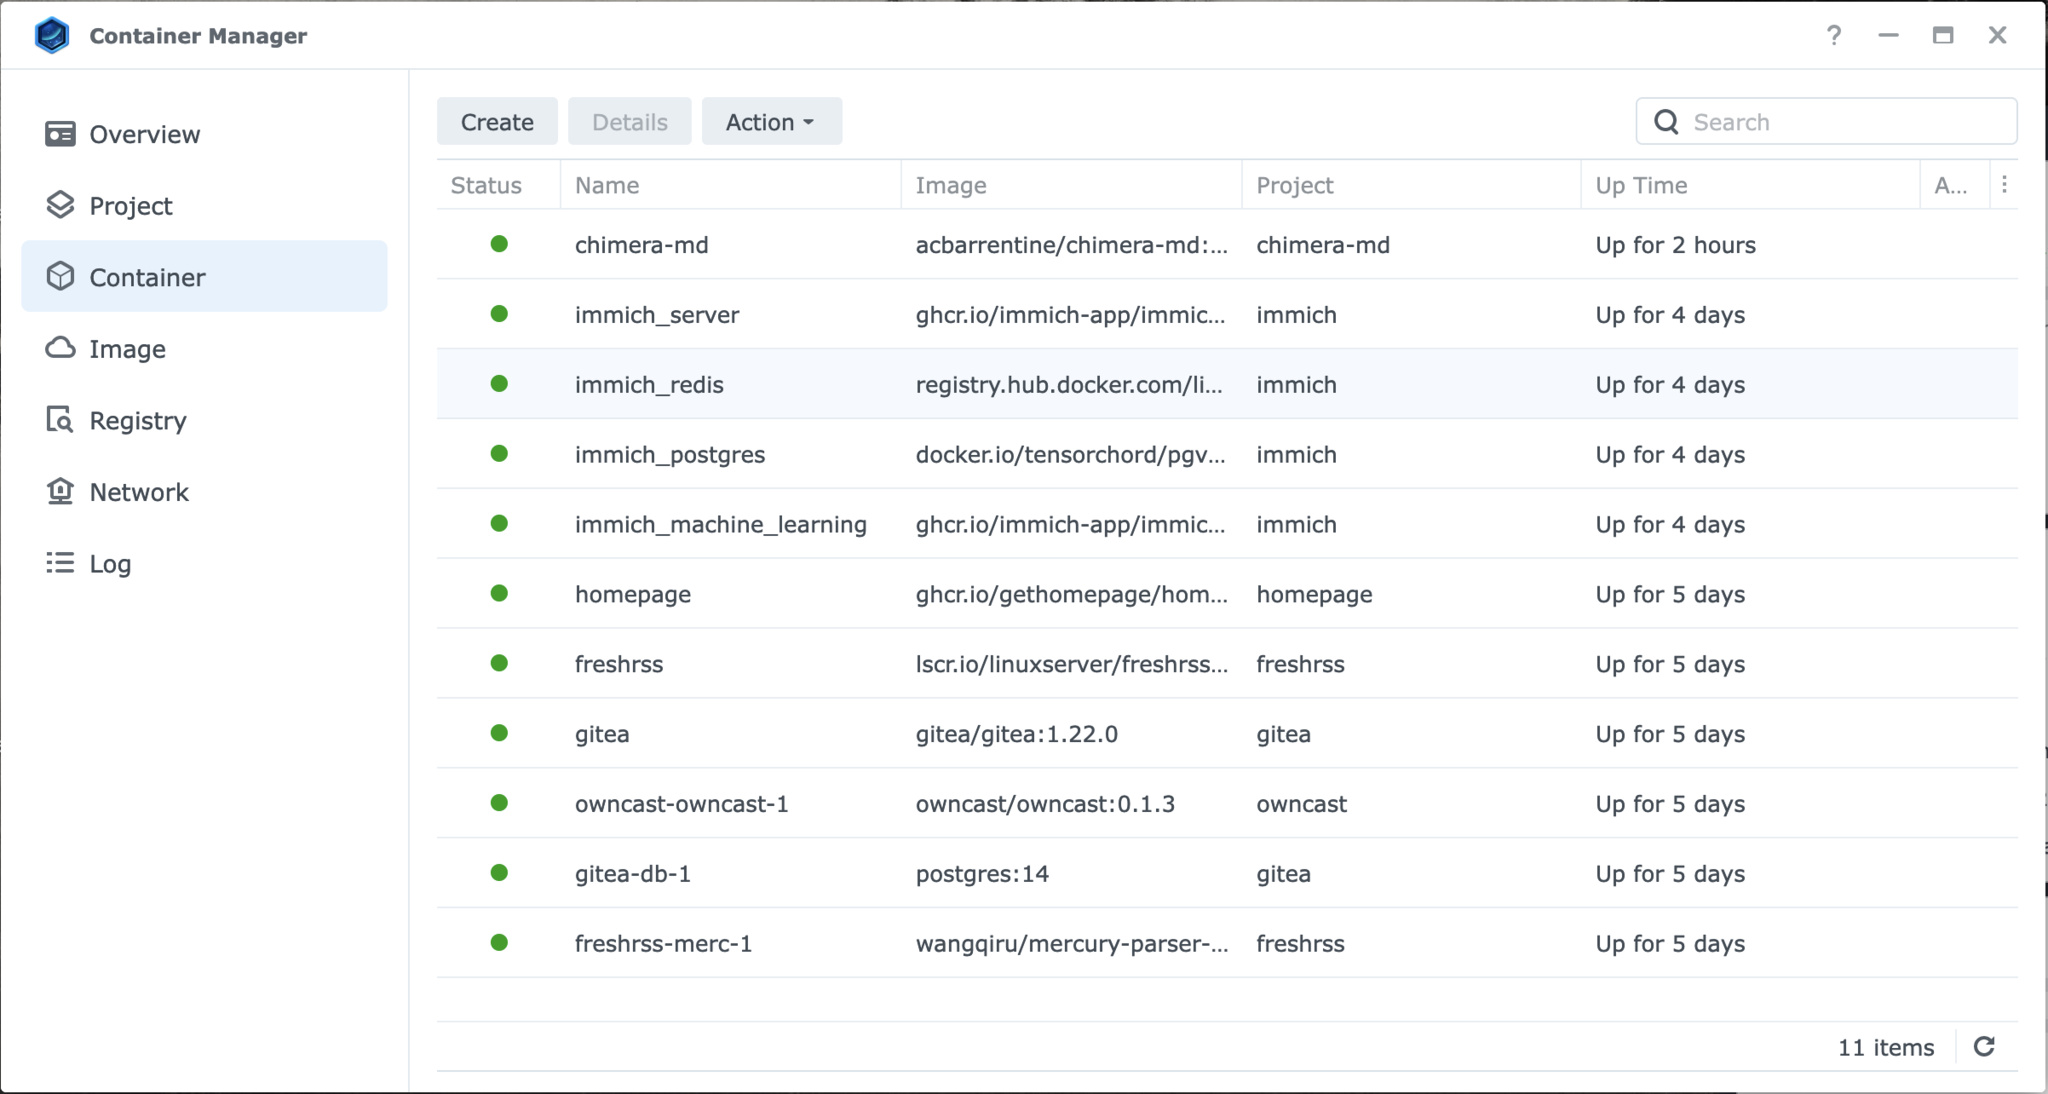
Here are my containers. 11 of these. These are, again, being automatically created by Docker when it processes the compose.yaml files. Remember when I said that file can describe multiple services? You’ll get one container per service. Chimera-md makes just one, but one of the programs I run makes four!
At times you’ll have to go into these tabs to manage containers or images. Mostly to delete them. But they’re not where your focus will be. Let’s turn our attention to the Project tab.
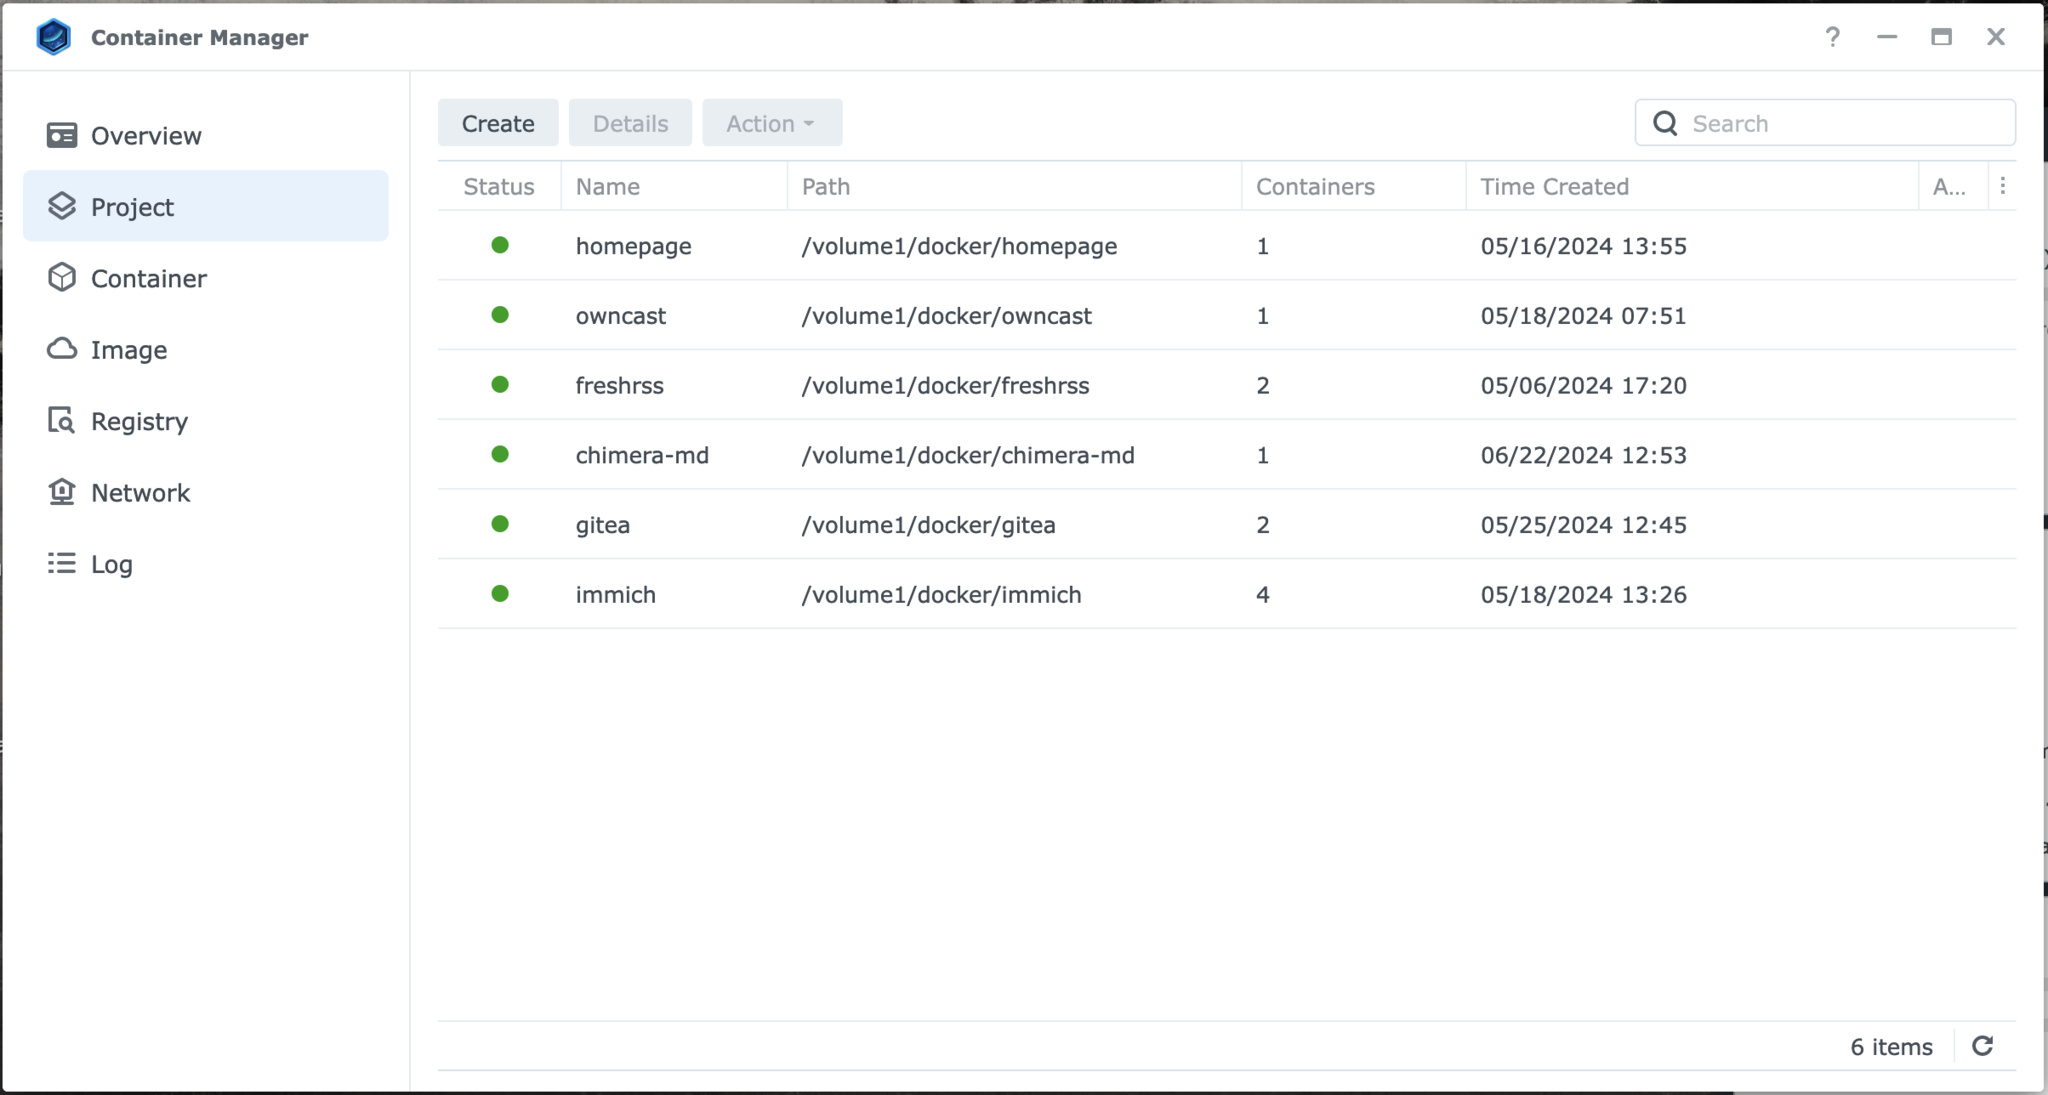
“Project” is what Synology is calling a compose.yaml file. This is a one-to-one mapping. See “immich” there? That’s the one making 4 containers when it runs. Chimera-md is here too. Let’s walk through how to get it there. See that “Create” button? Go ahead and hit it.
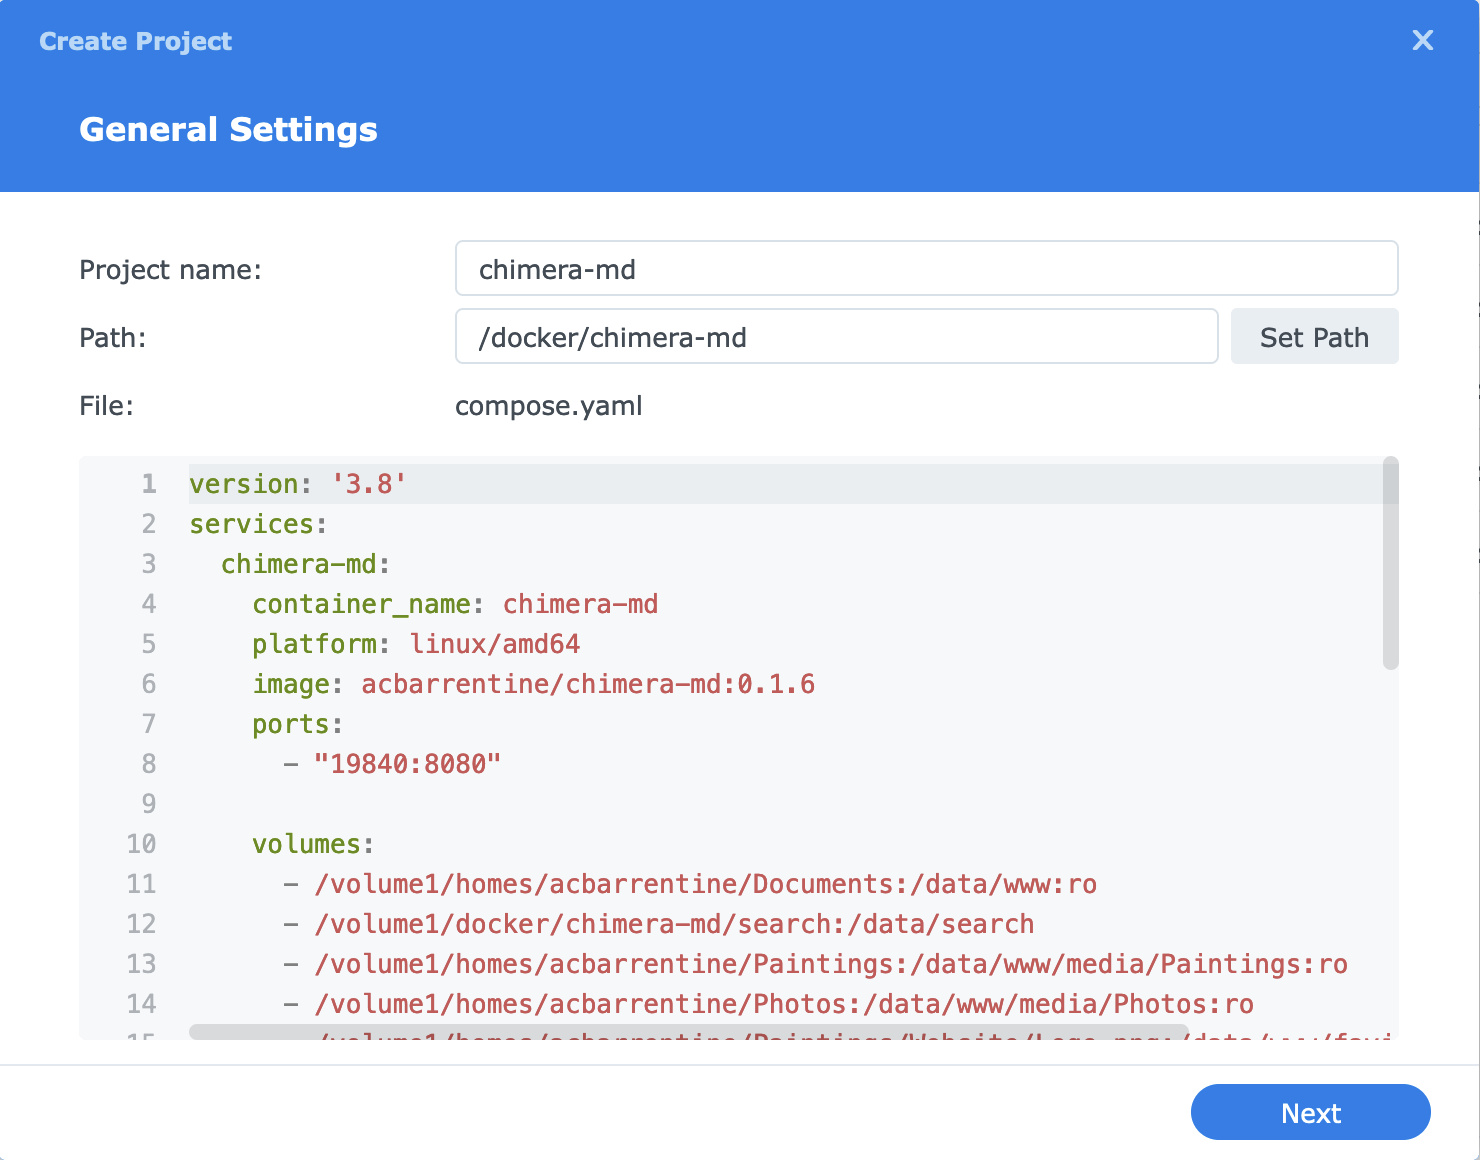
We already know everything we need to make this work. But let’s bring it together.
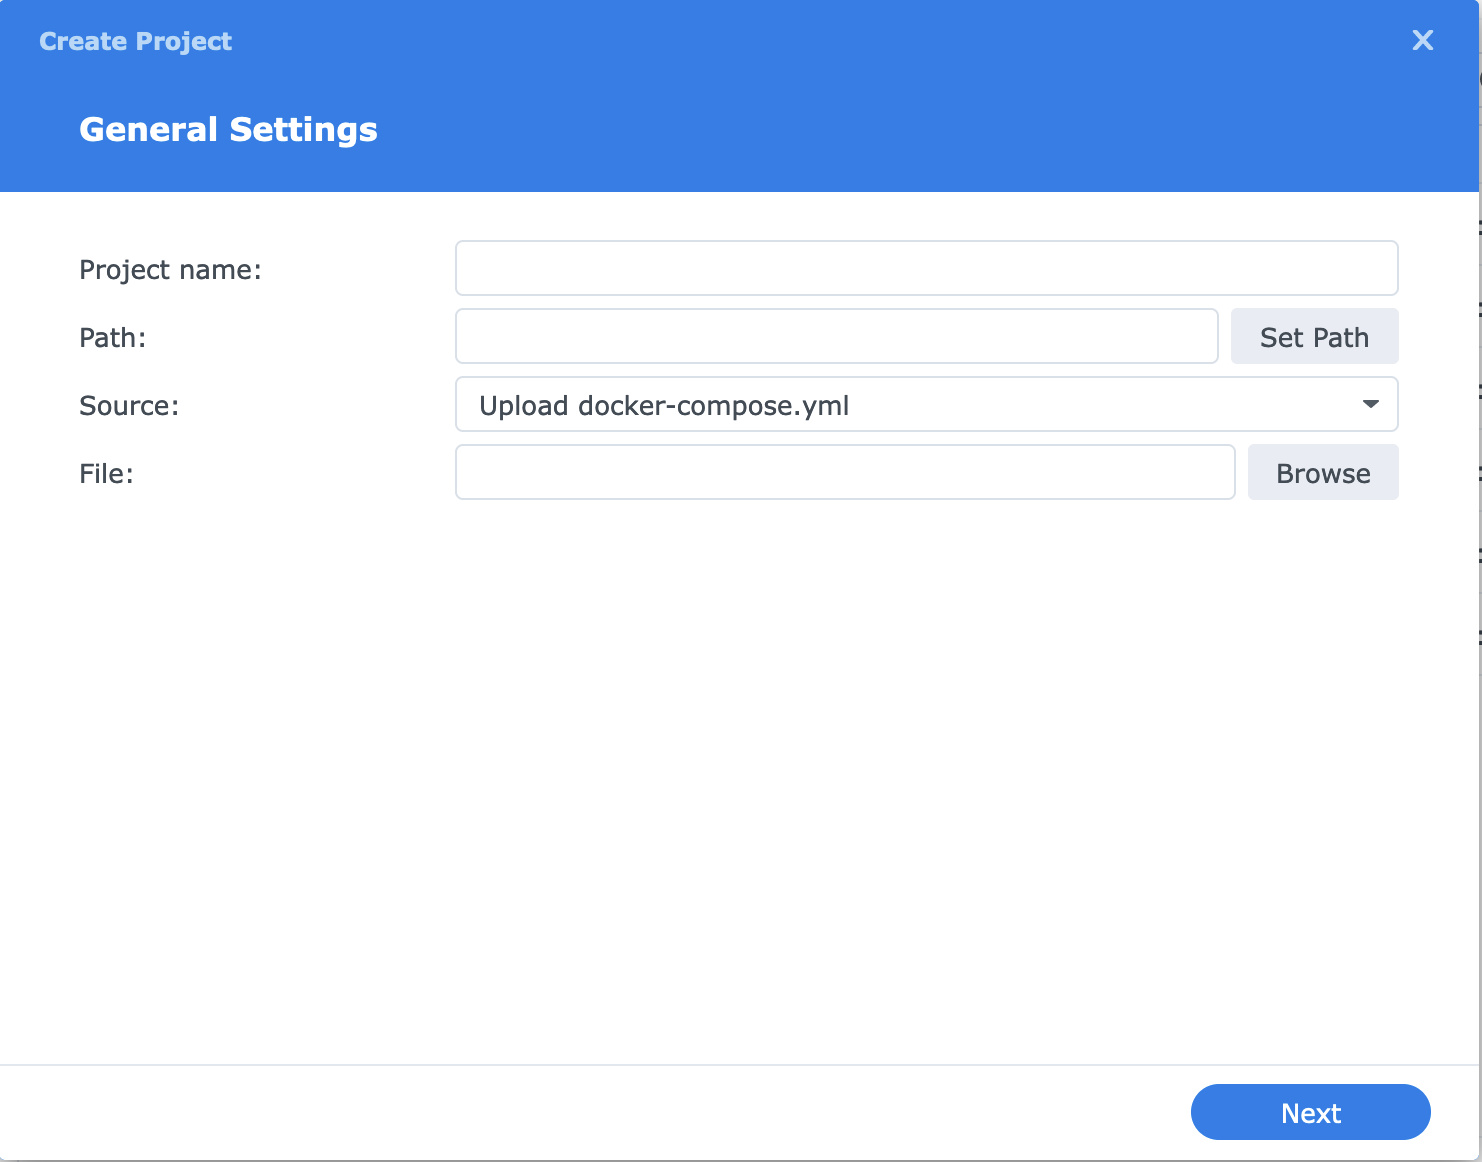
- Project name: Name it whatever you’d like, but it must be all lower-case. Something related to the program you’re installing would make sense. I called mine
chimera-mdanddismal-ink. - Path: Remember I said there’s a folder under the Docker shared folder for each program’s
compose.yaml? Here’s where you tell it where that will go. Make your folder under/volume1/dockerand name it the same thing as the project. Eg:chimera-md - Source: If you’ve been following along, you probably have a compose file already, either in memory in some Notepad-like app, or saved out to the file system. Here’s where you hand it to Docker. You can save it and upload it, or edit it directly into a tiny text editor on this dialog (“Create docker-compose.yml”, they call it, breaking convention). If you already saved it into your project folder, it will even auto-discover it. One way or another, when you hit next, it will be copied into that folder
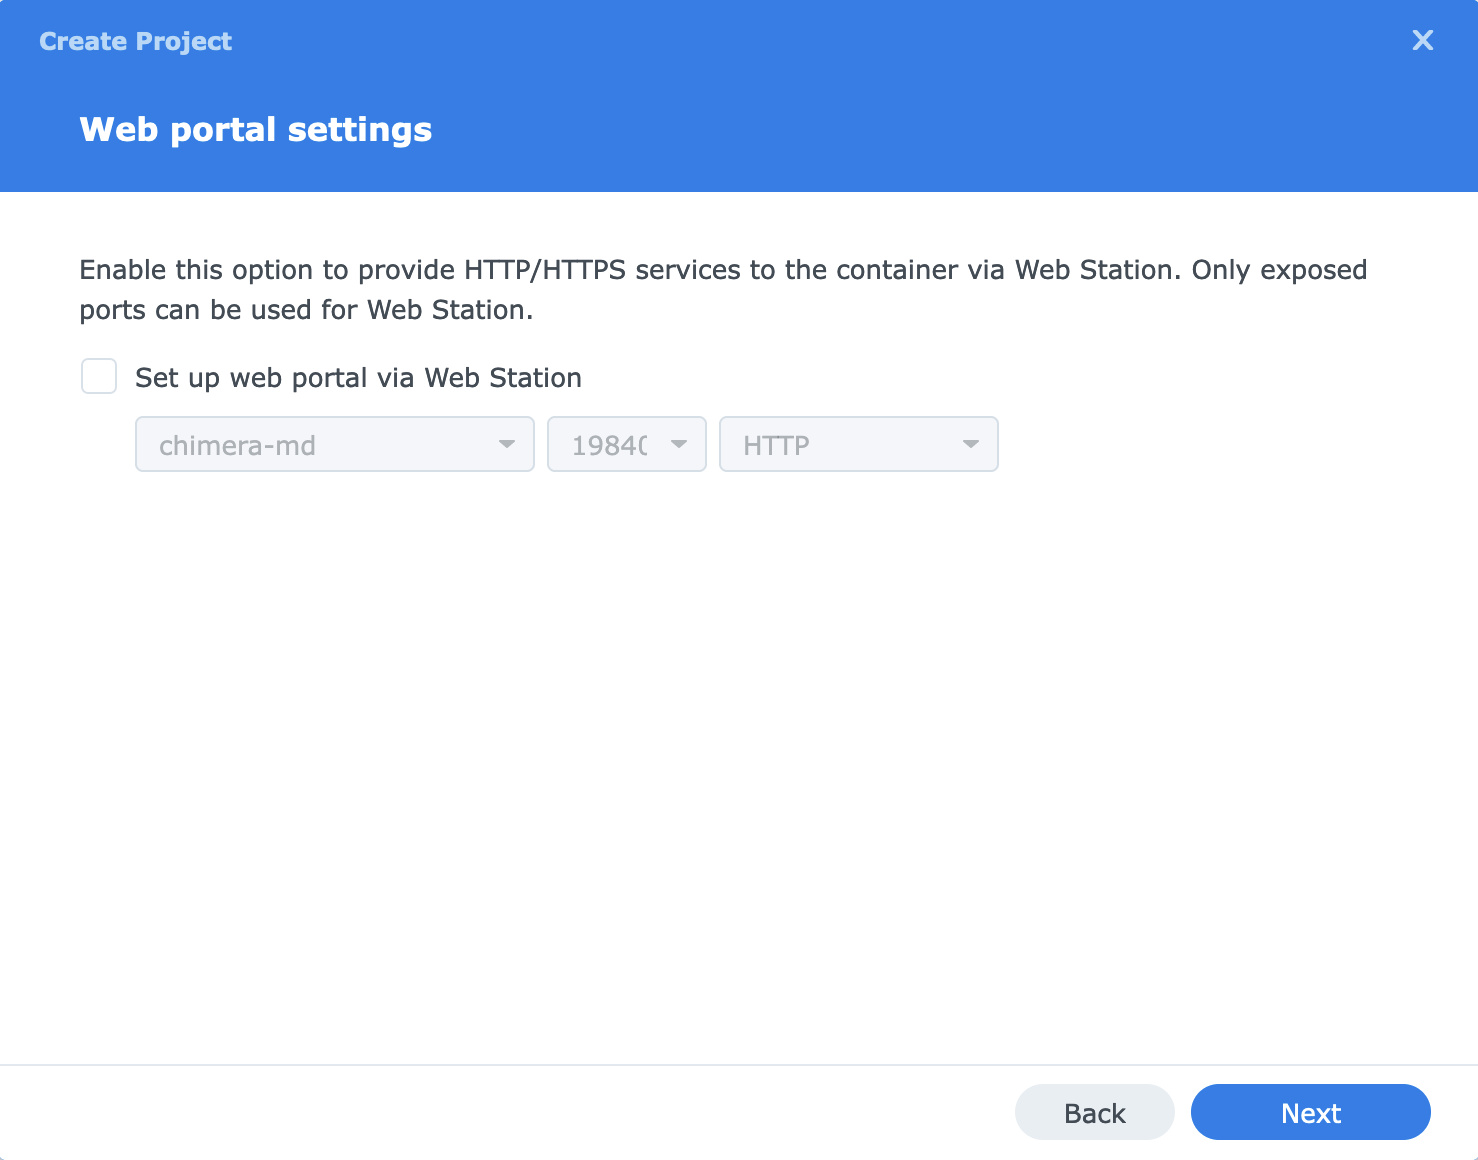
Hit “Next” when you’re ready to move on. It will ask you about making a web portal mapping for it. This is probably useful, but I never tried it because I’ve got that DNS/reverse proxy thing going. If you’re able to make use of it, let me know. I’d love to hear about it. I tell it to skip that.
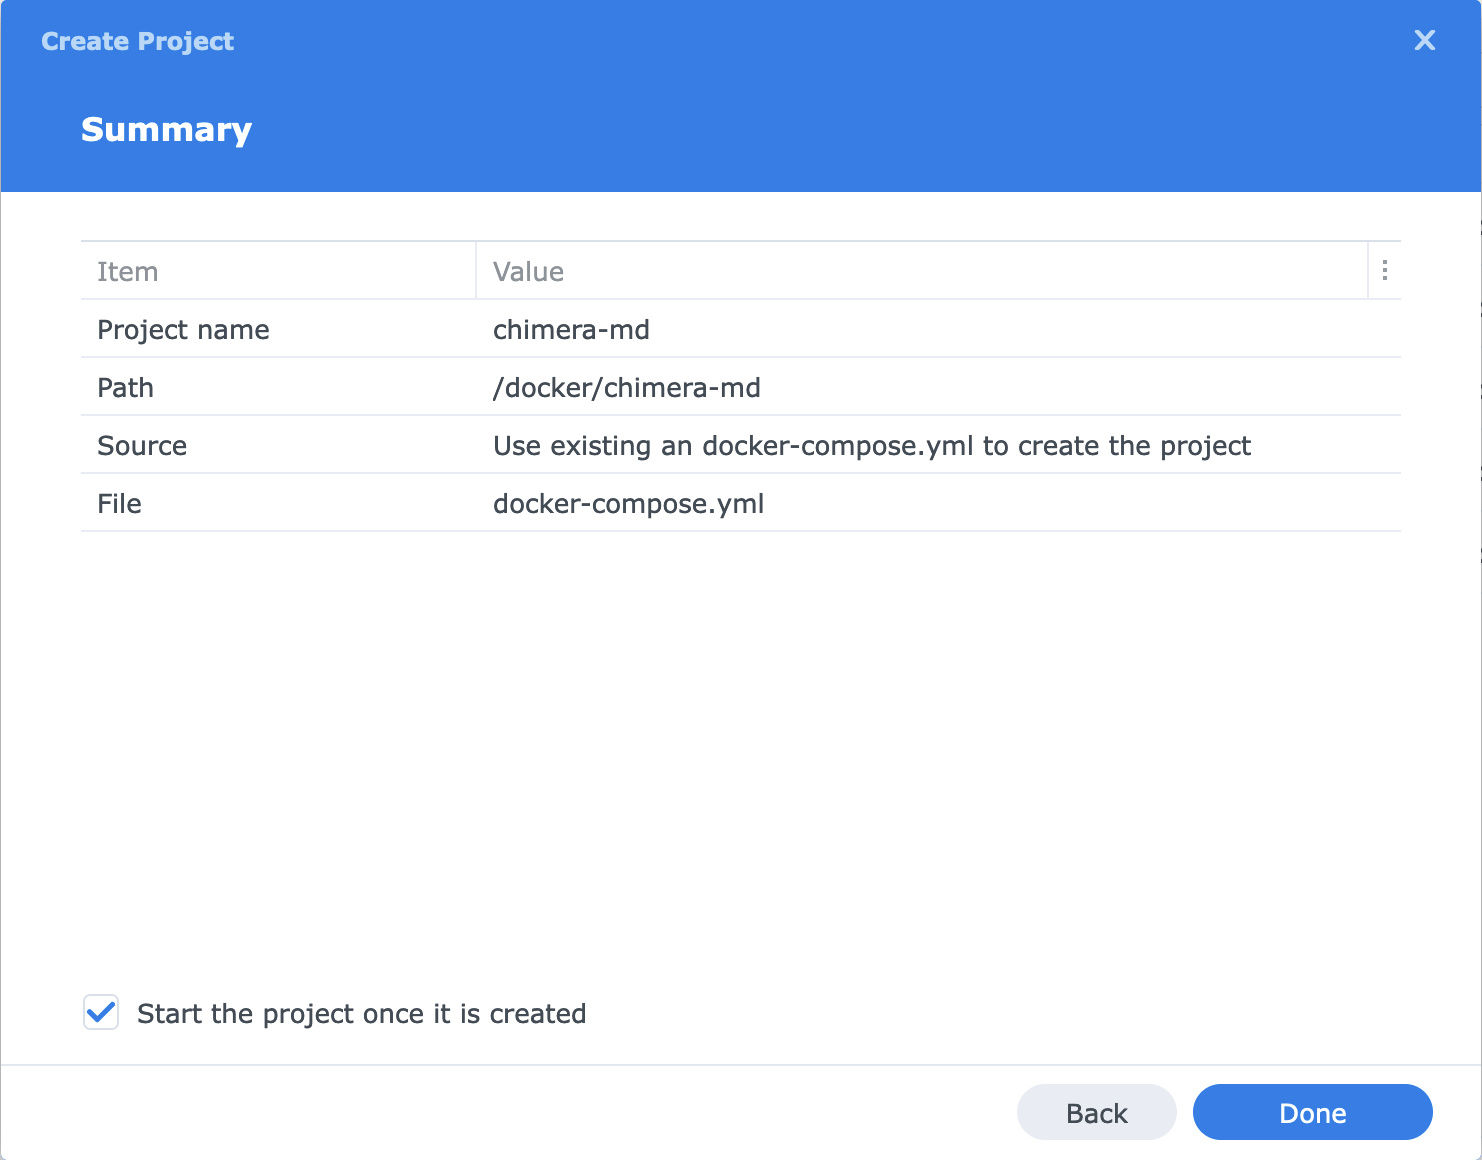
We get a little summary thing — last chance to back out! — and then we’re off to the races.
Then a special Docker terminal window pops up and it pulls the image down from whatever repository listed it, wraps it with your compose.yaml mappings, and starts running the services.
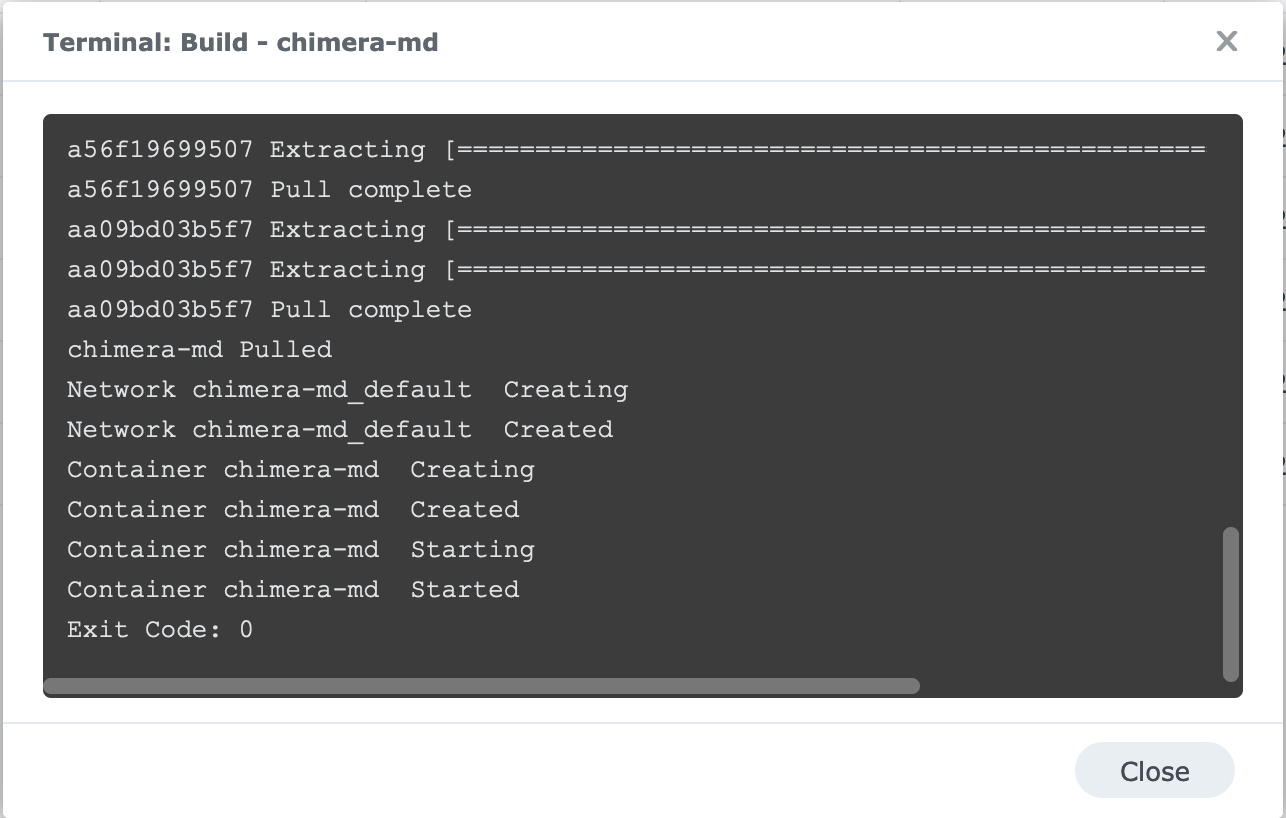
If it succeeds, you’ll get that “Exit Code: 0” message at the end. That’s Unix-speak for “No errors”. If there’s a problem, you’ll get some log information that will, hopefully, point you at the trouble. It’s likely to be something in the compose.yaml mapping. Don’t feel bad if you do. I still get them regularly. Right now I’m fighting with one that requires me to make a fake, empty folder in my Documents folder. There’s a certain opacity to what’s going on inside a Docker container that can make troubleshooting a gamble.
Now you either have a working, running service, or one that requires some troubleshooting. You may get some good log information from the Container tab, which tracks output from the program. I don’t know how to guess at what those might be, but if you email me, maybe I can help.
What I can say is that sometimes you’re going to want to start over. This isn’t working! I just want to try again! Let’s cover how to do that without causing damage.
Remember what I said earlier: “You do not have to delete the /docker/chimera-md folder”. That is neither the container, nor the image. It’s not even the “project”. It’s a place to put persistent support files for it.
When you want to start over, “stop the service” from the Projects page. Delete the containers. If you want, delete the images. (Generally speaking, it’s not needed to delete the images, but sometimes you just want to scorch the earth.) Then go back to Projects page, tweak your compose.yaml and try to Build again. Docker will wrap it back up with your local resources, make a new container, and try again. This time, you’re probably going to be closer to the answer.
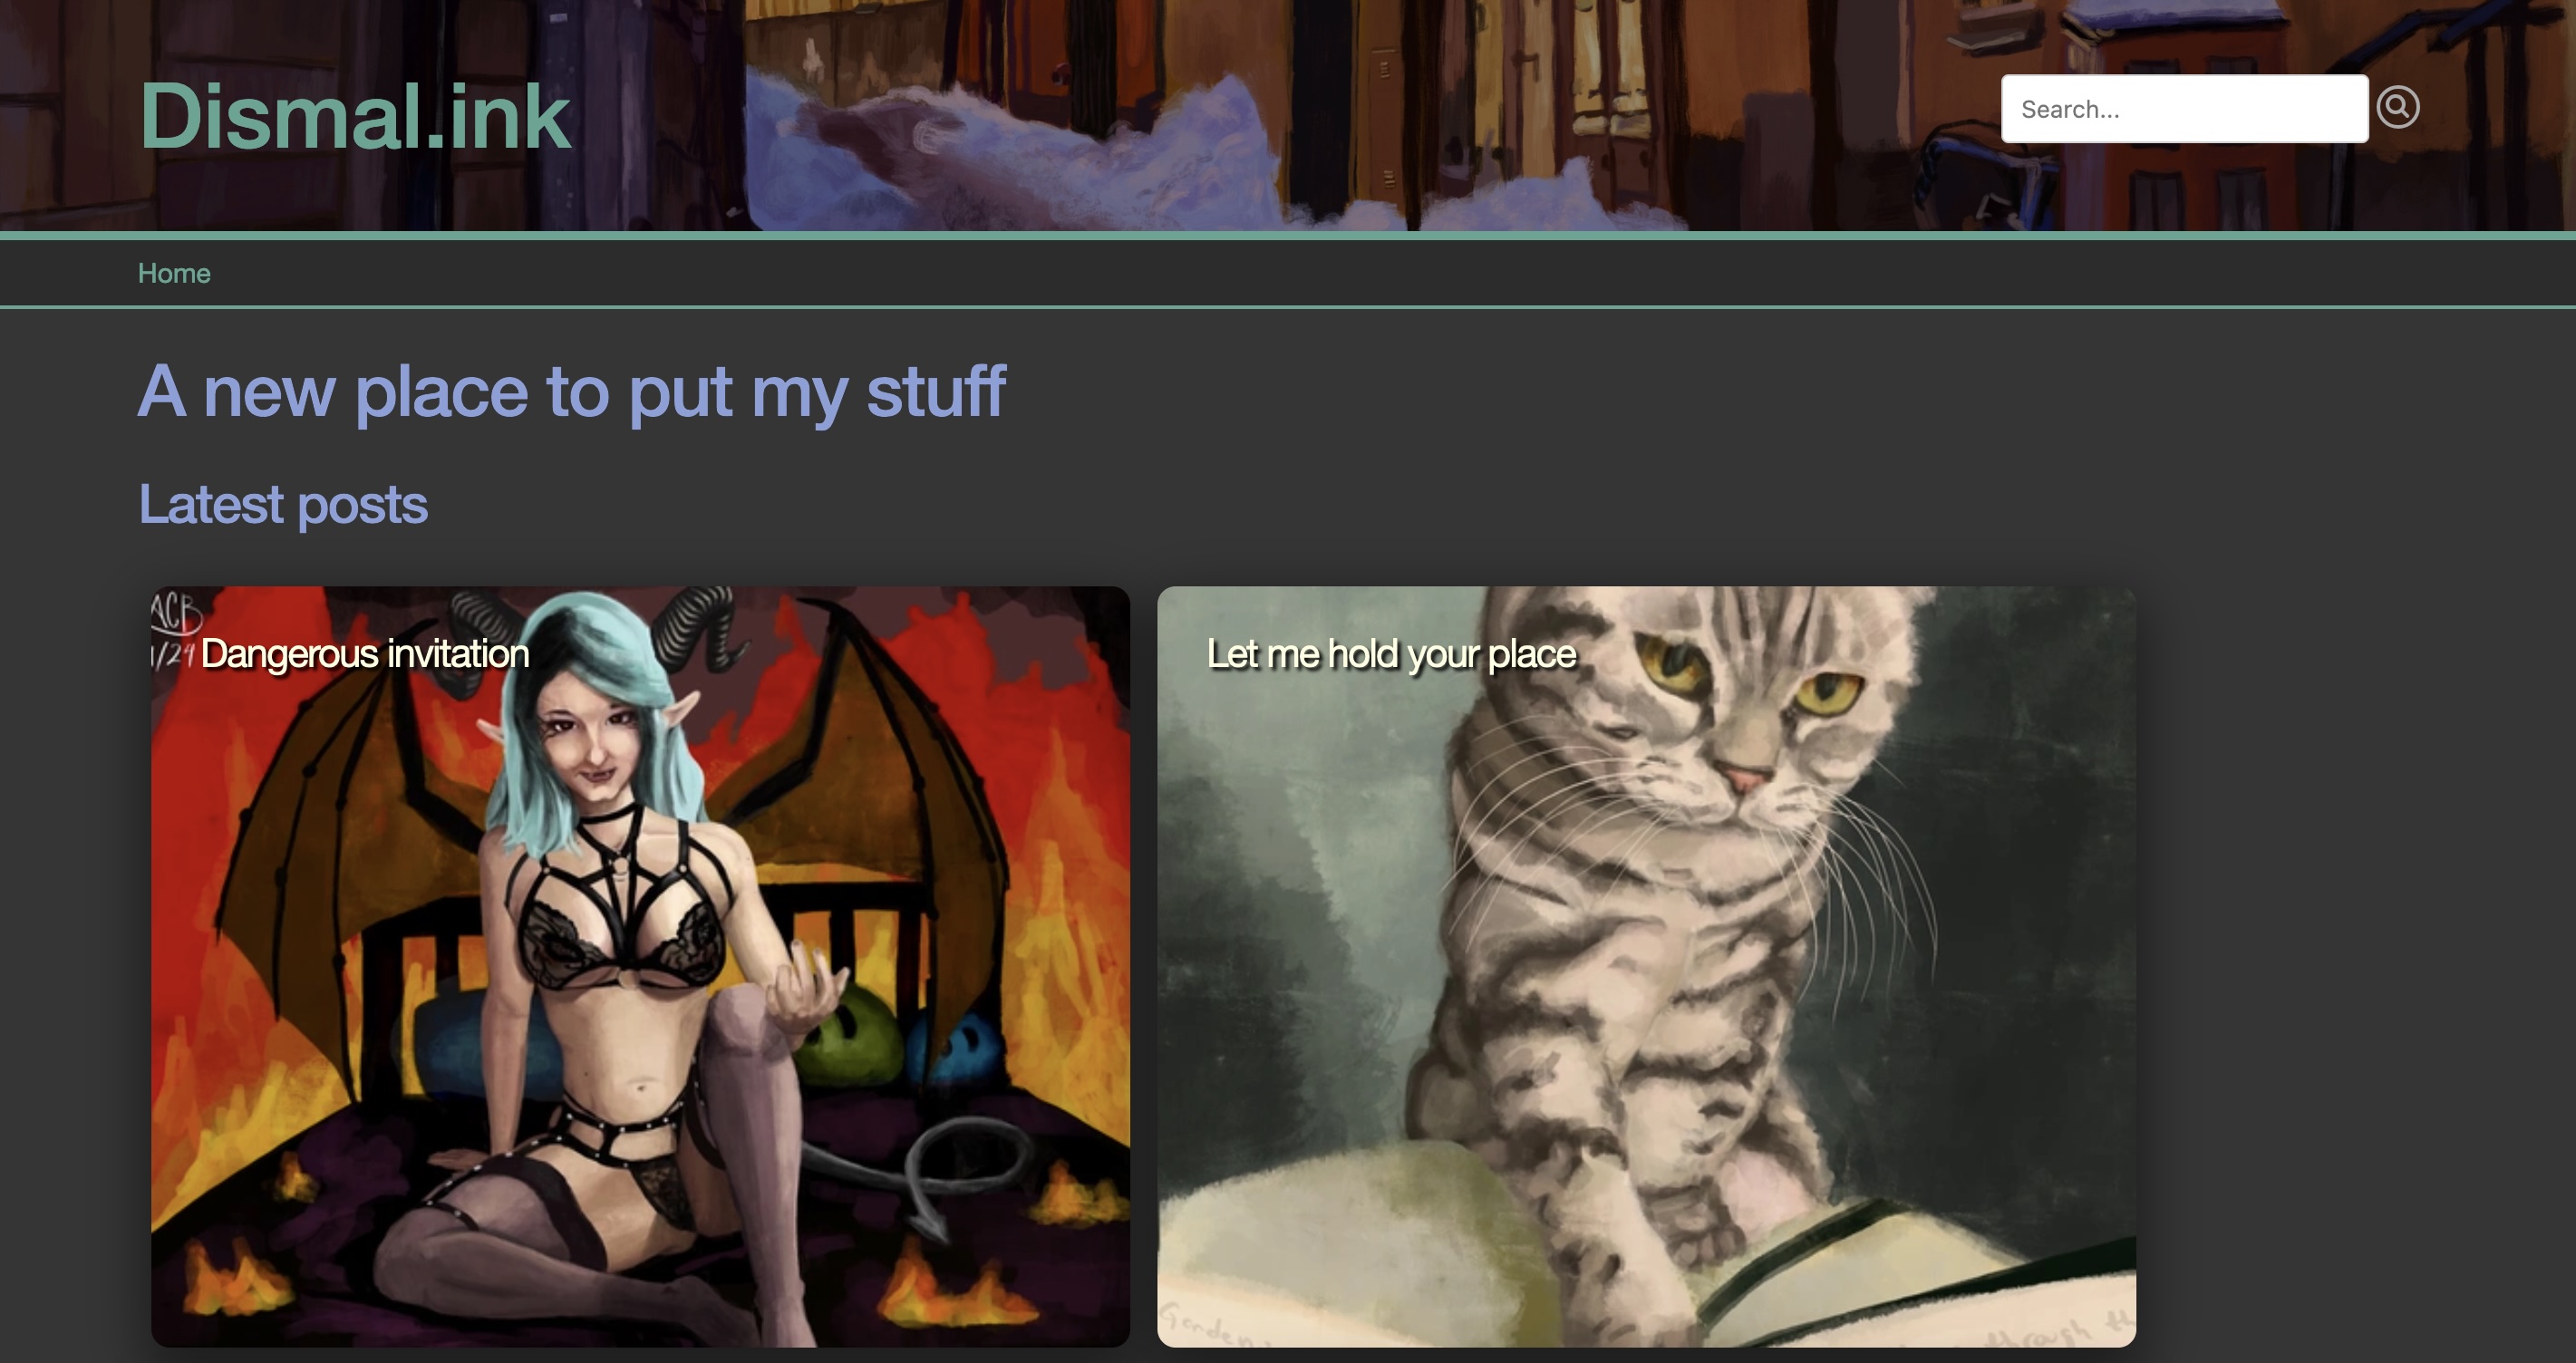
When it does work, you should be able to dial it up in your web browser. Go to <server-ip>:<your-port> in your web browser and see if it’s working!
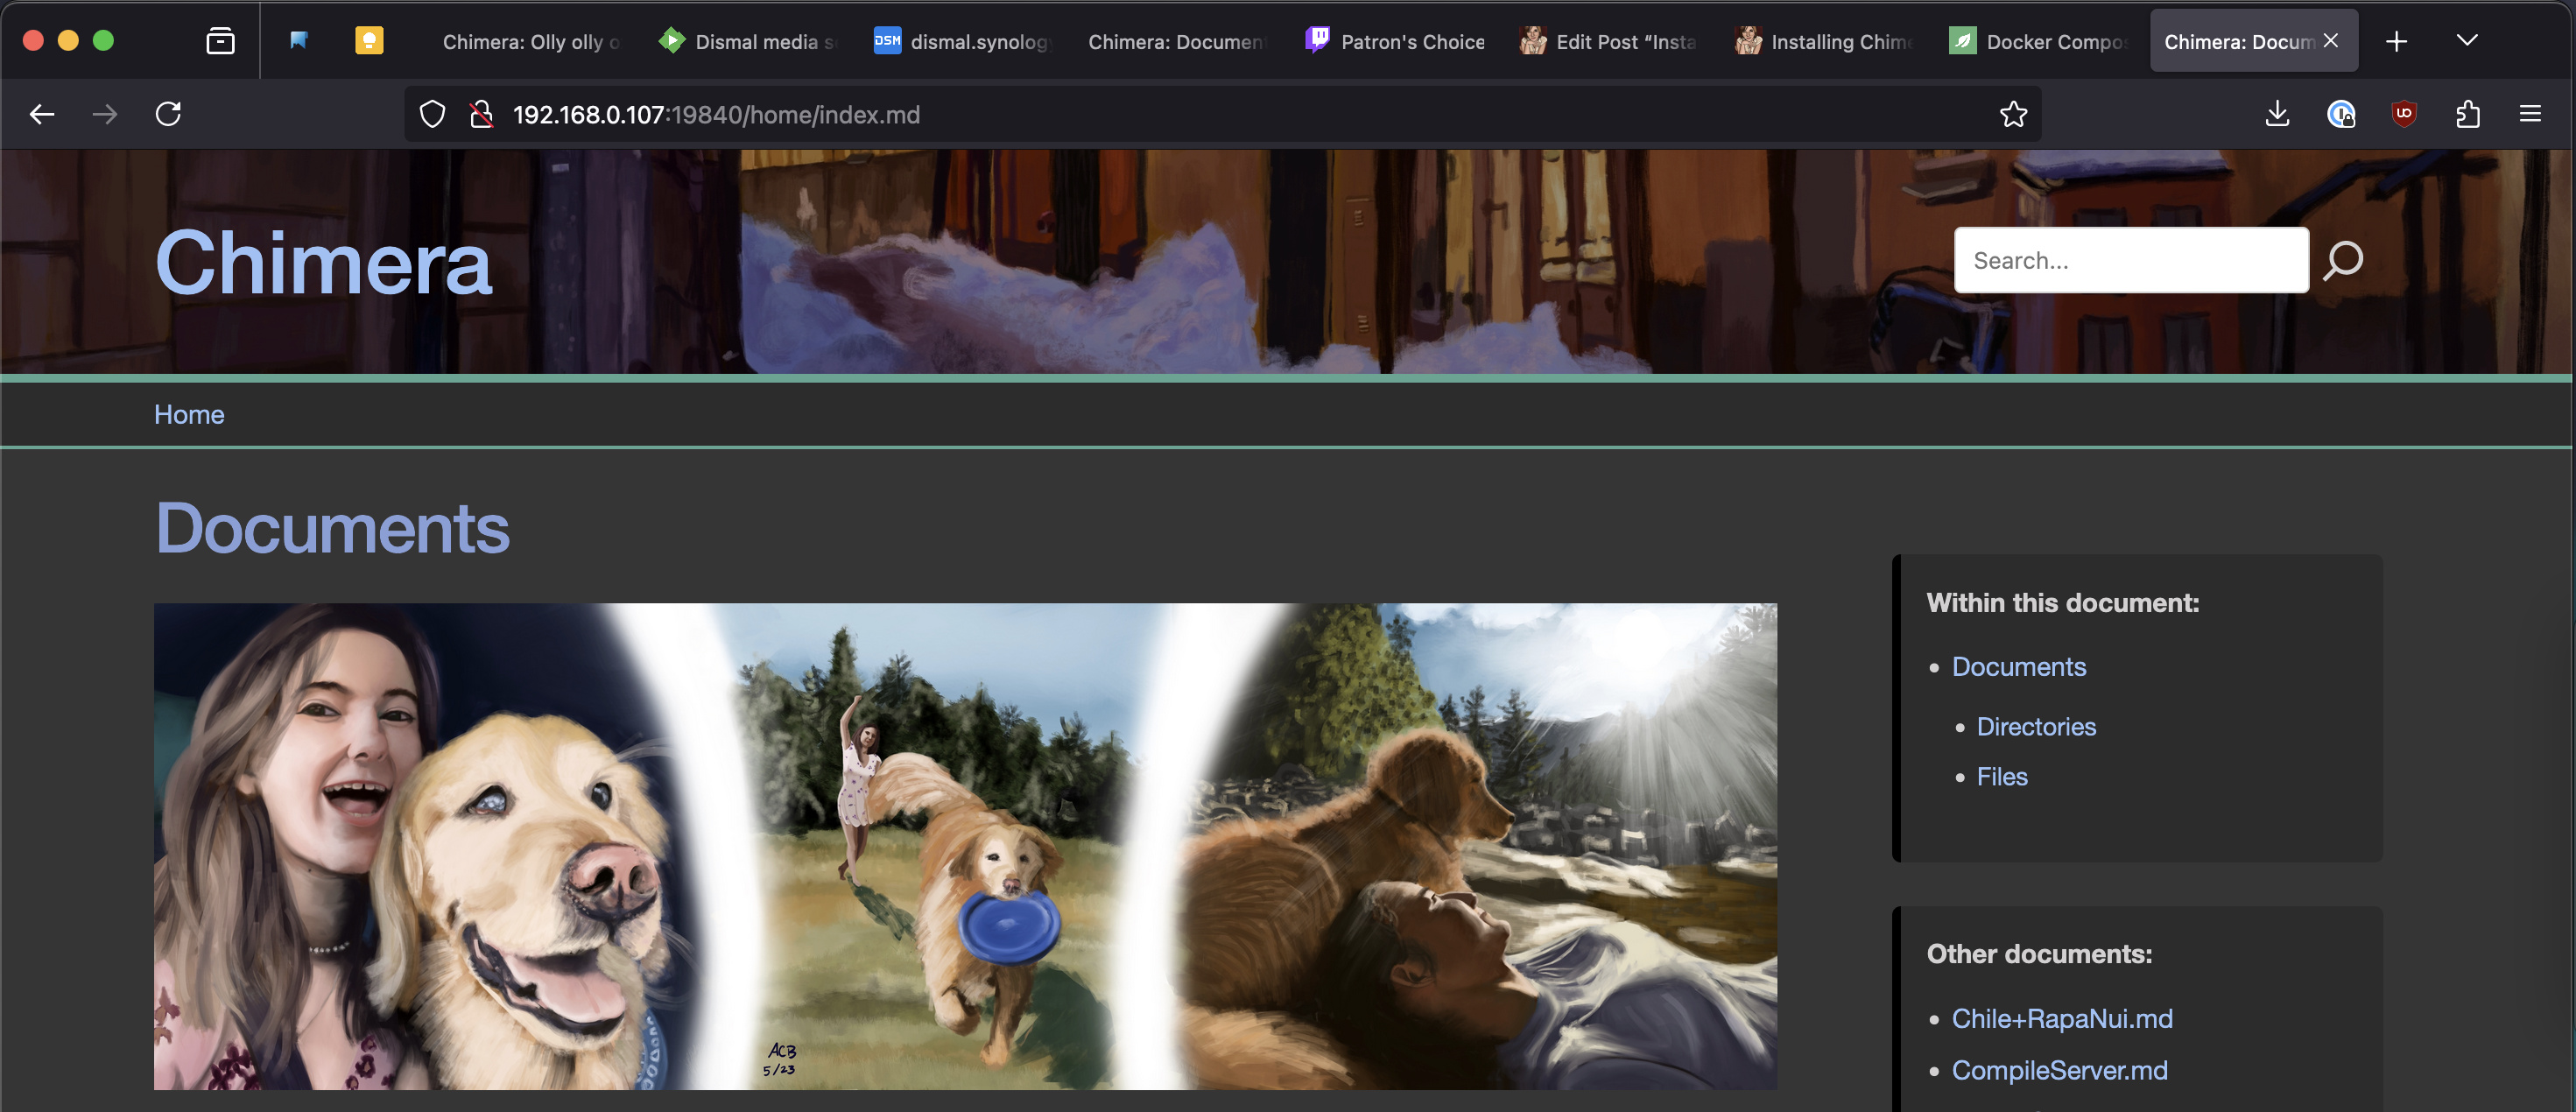
192.168.0.107 is the IP address of my NAS. (There are lots of ways to find your IP address, but probably the easiest is the System Health widget on the DSM dashboard.) 19840 is the port I told it to use. Everything after that on the URL is a result of forwards from within the application itself.
What do you think? It’s not exactly the App Store. It’s got the stink of Linux all over it! But like the rest of Linux, it’s about giving you the power. When you’re ready to embrace it, it will be ready for you.
If you get it going and find some value in Chimera-md, let me know! I’d love to hear your story or your ideas about how I could do it better. I’ve had a grand time making this project. I’m super excited to debut it for the world and grow it into a service other people love as well!